As spring approaches, a small flower blooms hinting at the beginning of growth
When spring knocks at the door, plants come out of their dormant period. As your plants emerge from their winter slumber, preparing them for the growing season is crucial. This is the perfect time to give them a thorough cleaning. From dusting the leaves to changing the soil and pot; spring cleaning can be an overwhelming task for some plant parents. A deep spring cleaning promotes healthy growth. Follow the steps below to turn spring cleaning from a daunting process to an enjoyable one.

Dust the leaves
It is a known fact that plants are natural air purifiers. By trapping dust on their leaves through static charge, they cleanse the air. However, this process can lead to dust accumulation on the leaves. This clogs the pores (stomata) which may hinder many significant functions of the plants. Some of these include respiration, photosynthesis, and transpiration. Any disturbance to these functions can deteriorate the plant’s health. Wiping the leaves with a soft, damp cloth or using a brush to clean the dust is the best way to open up the pores.
Clean the planter
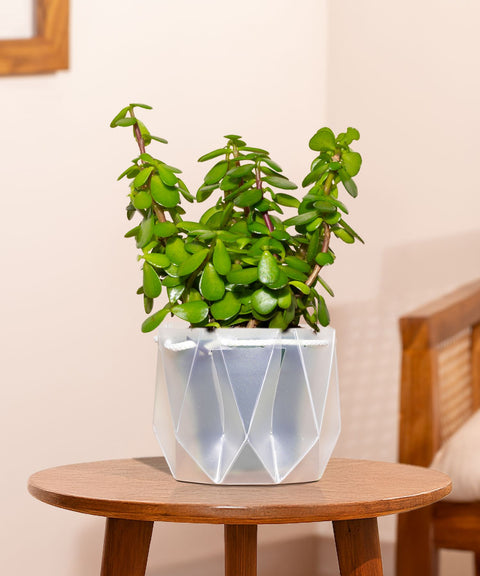
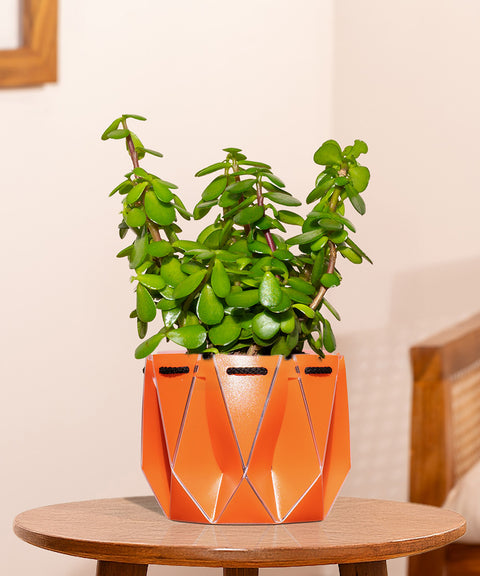
We grow our plants in beautiful planters reflecting class and elegance. Dust, mineral deposits, or water stains might make your planters look drab. To restore your planter’s beauty, clean it with a damp cloth. Depending on the material of the planter, follow the cleaning instructions mentioned below. Metal: Make a solution of mild detergent and warm water. Use a cloth or sponge to clean the product and buff dry with a soft cloth. Do not use cleaning products containing harsh chemicals as that may damage the planter.
Ceramic: To clean the ceramic pot, mix three parts baking soda with one part water and make a paste. Rub the paste on the pot and scrub it with a damp sponge. Rinse off any paste from the pot and let it air dry completely.
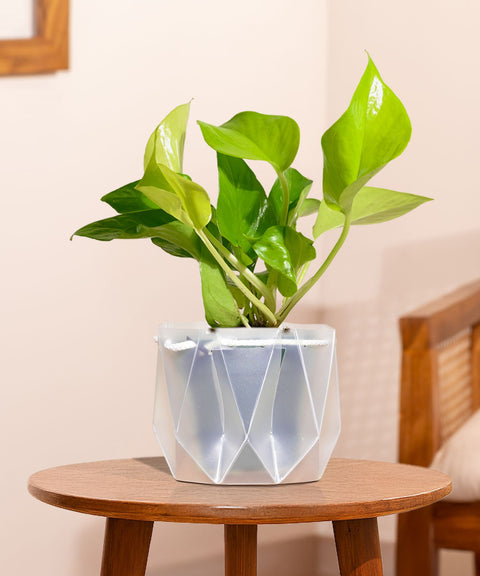
Plastic: Mix bleach and water in a ratio of 9:1. Soak the product in this solution for approximately 10 minutes. Wash the plastic pot with lukewarm soapy water and rinse with clean water. Always wear gloves and eye protection while using the solution as bleach is a harsh chemical. In case of contact with eyes or skin, rinse immediately. Speak with a medical professional if any irritation persists.

Repot or Up-pot your plant
Repotting is changing the soil of the plant whereas up-potting is changing the pot. When a plant is in the same soil for longer periods of time, it is vital to change the soil to provide the plant with fresh nutrients. This is the process of repotting. If you notice the roots of your plant coming out of the drainage hole or your plant moving up in the planter, then it's time to up-pot. Move your plant to a larger pot. This gives the roots ample room to spread and grow
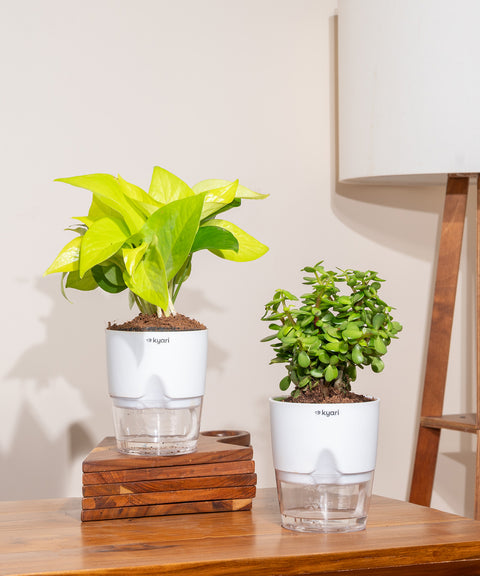
Whether you are repotting or up-potting, always choose a pot with a drainage hole. This minimizes the risk of root rot as a result of excess water accumulation.

Finishing the cleaning process…
Once you have cleaned and potted your plants, you will notice that your plants look refreshed. The next step is to feed them. A slow-release organic fertilizer is the best way to give your plants essential nutrients. After spring cleaning, place the planters in desired spots and decorate your home with lush greenery.
Read More
How To Make Plants Grow Faster and Bigger?
How to Attract Birds & Butterflies to your Garden?
How do indoor plants beautify your life?


 Limited Time Deal
 BYOB - Small Plants


