Change can be daunting but it is the only way to grow; for you and your plants.
Repotting is the process of shifting a plant from its old pot to a new one and changing the soil. In some cases, repotting involves replenishing the soil while keeping the plant in its old pot. For new or even experienced plant parents, repotting might come across as a challenge. The anxiety of accidentally killing your plant can make you rethink your decision of repotting. It is quite common among plant parents to have mixed feelings about repotting. The when and how of repotting might be perplexing.

Let’s start with the “WHEN”
Plants have a way of communicating their distress through their leaves and roots. There are some giveaway signs that your green buddy needs a new pot or fresh soil. Keep reading to find out….
- If the roots of your plant are peeking through the drainage hole, it means that the plant has overgrown its pot and needs a new one.
- Slow or stunted growth is a sign that a plant needs nutrients. The yellowing of the leaves is another indicator of nutrient deficiency. In some instances, the leaves might fall off the stems as well.
- The plant's top gets too heavy, forcing it to droop down to the ground.
- If the soil dries off quicker than usual, and you need to water the plant more often than regular; it is a sign that the plant is rootbound. This means that there is not enough soil in the pot to retain water.
Repot your plants when they showcase any of these symptoms. In case none of the symptoms are visible, repot your plants in the spring season usually at intervals of 1-2 years.
Moving on to the “HOW”
As humans, it takes us a while to get comfortable when we move to a new house or a new city. Plants are no different. Repotting them without following the right steps might prove fatal for your plant babies. It is important to ensure that repotting is done in the correct manner to minimize the shock to the plant. Below are the steps you should follow to repot your plants:
- Remove the plant from its current pot
Hold your plant firmly by the stem and turn it sideways. Give a few taps on the base and sides of the planter. This will loosen the plant and make it easier to slide out of its pot. Gently tug on the stems if you notice your plant is struggling to get out. - Untangle the roots
Remove any unwanted roots but leave thicker roots at the base of the plant. This is known as pruning. If your plant is rootbound, you will need to loosen the roots. The roots of such a plant grow around in circles. You will be required to carefully untwine the roots and trim the unnecessary ones. - Change the potting mix
While repotting your plant, remove at least one-third of the old potting mix around your plant’s roots. Fill the new pot with fresh, nutrient-rich soil and tap it down to remove any air pockets. If the pot does not have a drainage hole, add a few lava rocks at the bottom. This will create fissures to collect excess water, keeping it away from the roots. - Place your plant
After changing the potting mix, it’s time to place your plant in fresh soil. Put your plant at the center of the new soil. Secure it in place by adding some potting mix around it. It is crucial to leave some space for the roots to breathe.

The aftermath of repotting
Your plant might experience some shock as a result of repotting. They may look wilted and thirsty but you should avoid watering them for about a week. This gives the plant enough time to heal the damaged roots if any. Place your plants in a shaded spot while they are recovering.
In conclusion…
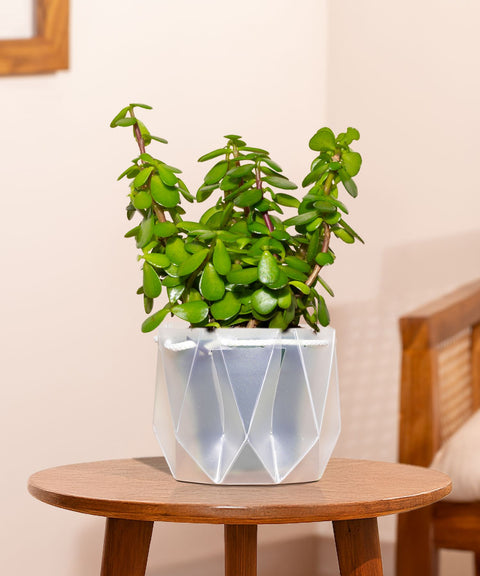
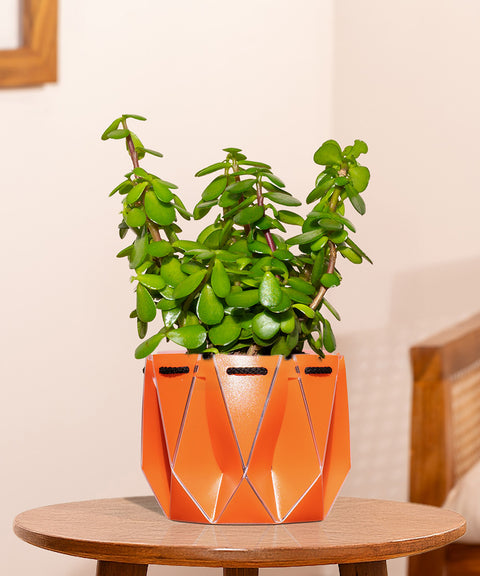
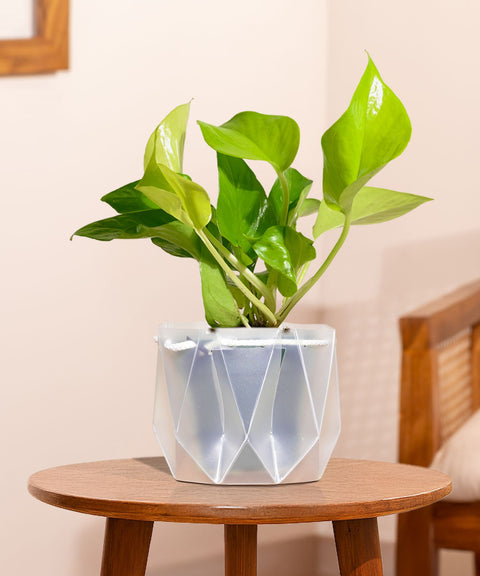
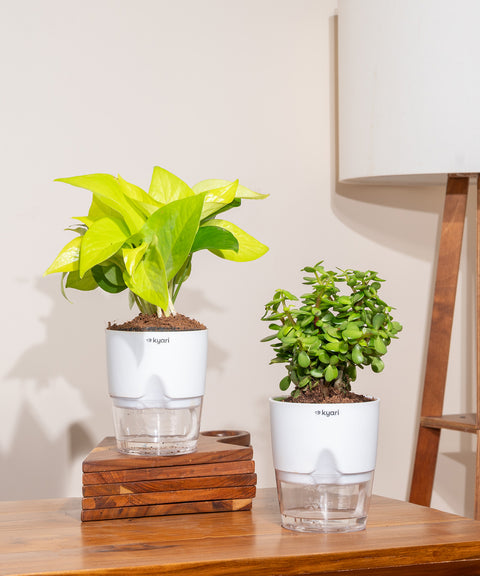
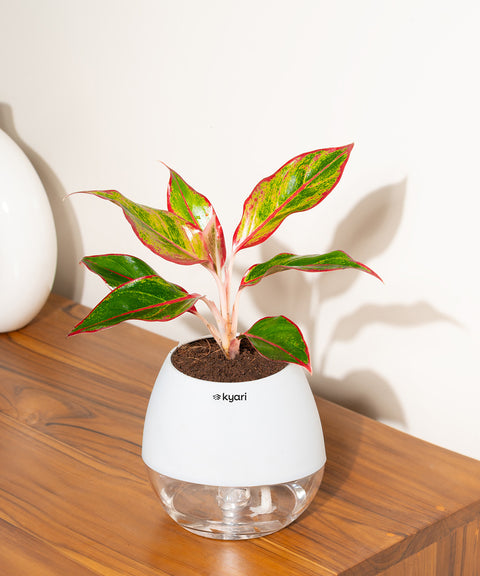
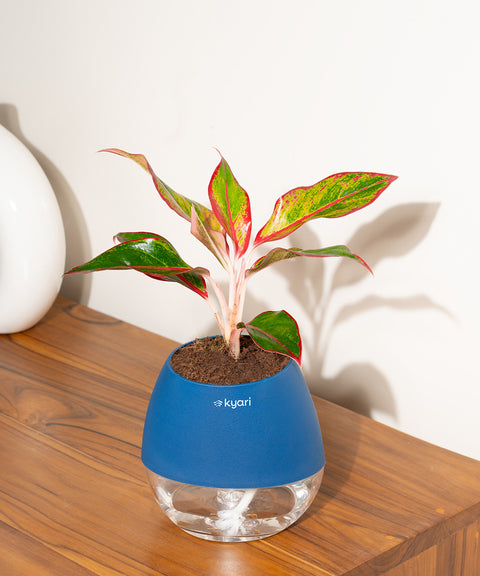
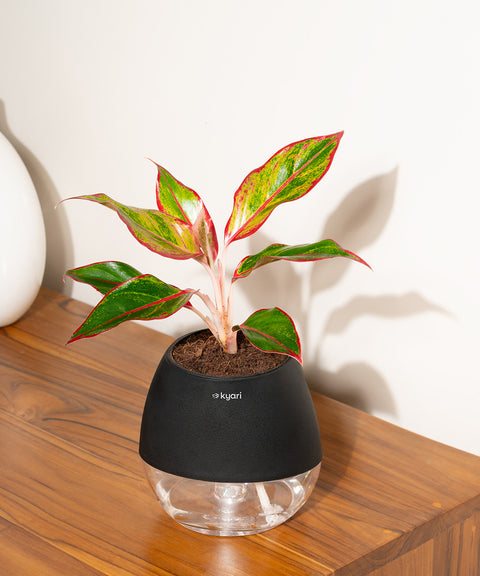
Repotting gifts your plant with nutrients leading to healthy growth. By repotting your plants in a new pot, you can change the look of your decor as well. Add some quirky designer pots and choose some bright colors for your plants. Giving your plants a new home can enhance the look of your home as well.
Read More
English ivy: Care, Types & Propagation
Anthurium: Care, Types & Propagation
How to Grow and Care for Hydrangeas?


 Limited Time Deal
 BYOB - Small Plants


